Fork-Tender Oven Baked Chuck Roast (Dutch Oven Pot Roast)
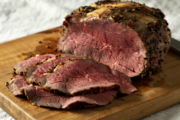
Chuck roast may look tough, but a low oven turns it into a Dutch oven pot roast so tender it falls apart at the touch of a fork. This is the classic oven method, no crockpot needed, and it needs just 25 minutes of hands on time. Season it, tuck it into the Dutch oven with onions, have patience, and supper is on the way. Roast beef sandwiches for tomorrow are practically guaranteed.
Quick Recipe Facts
Prep: 20 min | Oven: 3 to 3½ hrs at 300 °F | Resting: 30 min
Hands-on Time: About 25 min
Serves: 6 to 8, plus roast beef sandwiches tomorrow
Summarize and Save This Content On: | |||
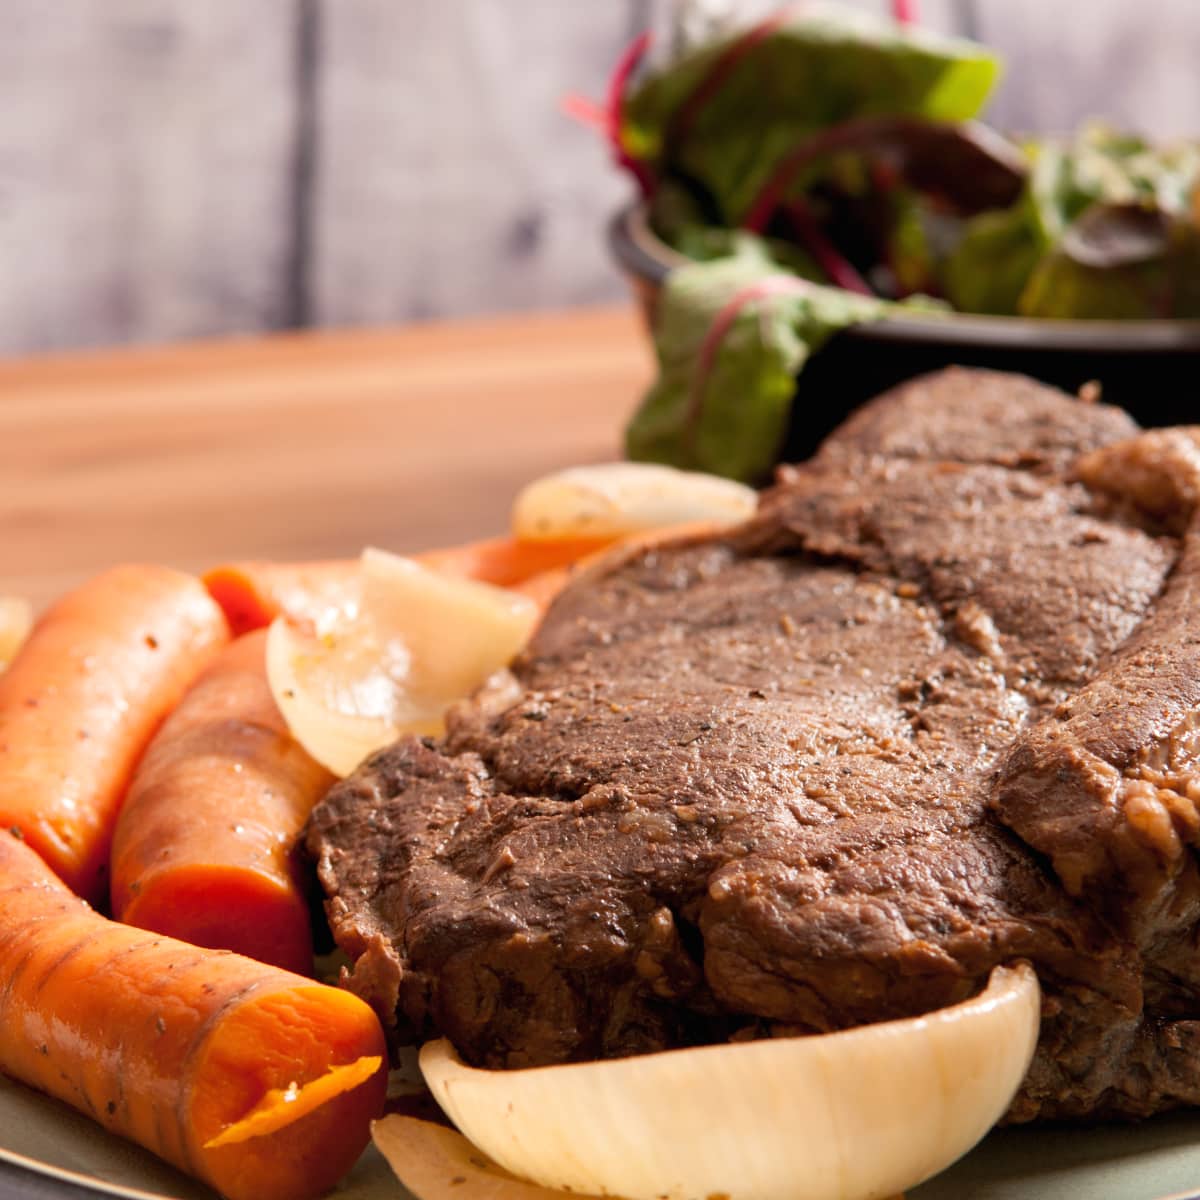
Table of contents
How to Pick a Good Roast
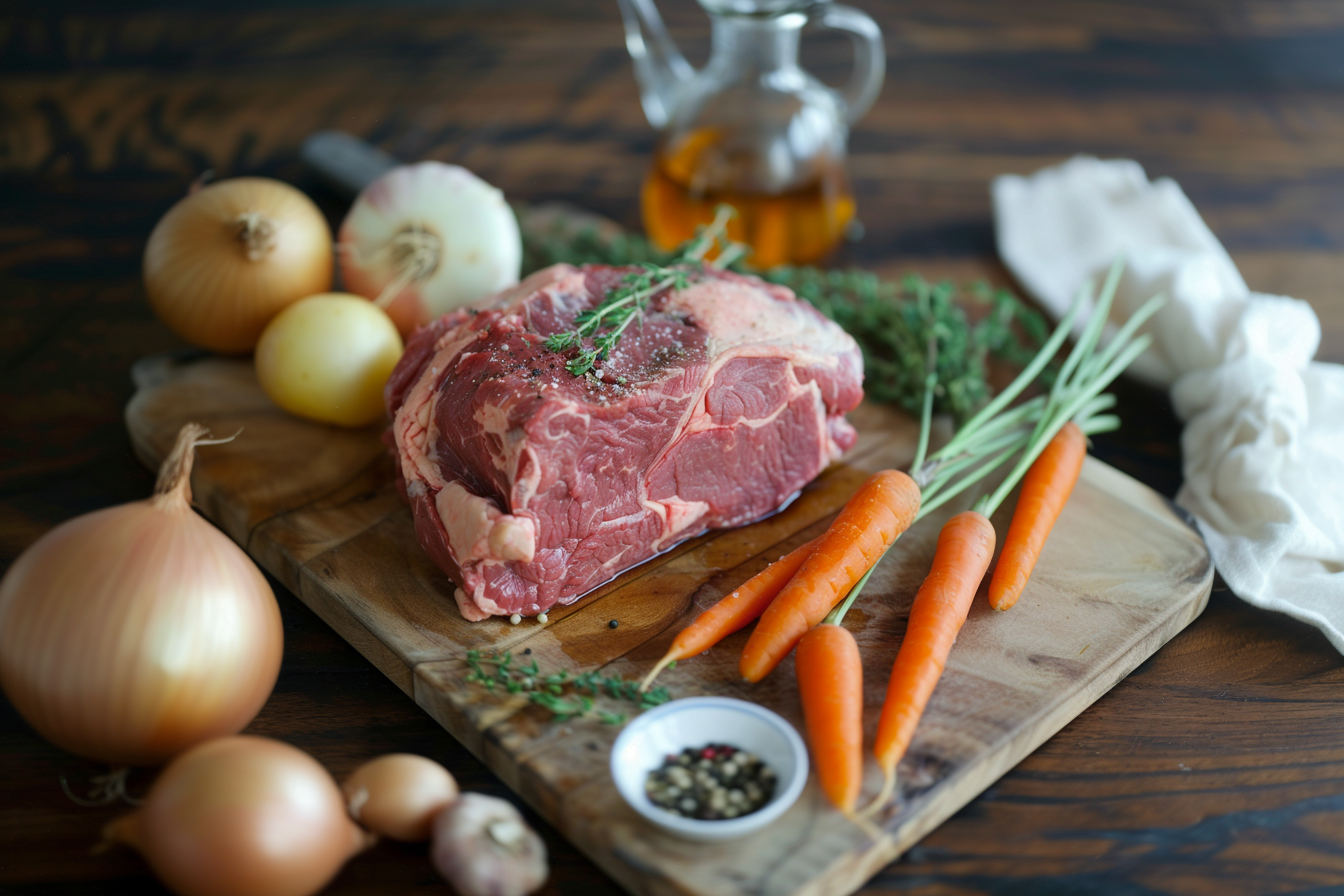
- Marbling: First, look for tiny white flecks in the meat. These flecks help make the beef tender, juicy, and flavorful. According to Diana Clark, meat scientist for the Certified Angus Beef® brand, the fat melts during cooking and bastes the beef from the inside out.
- A Little Fat Is Good: In addition, look for 1/4 to 1/2 inch of fat around the outside edge. The fat bastes the beef and helps form a crust during searing.
- Red Coloring: Next, choose a roast with bright red, moist-looking meat. Leave bland colors for the potatoes.
- Texture: Finally, press the roast gently. The meat should feel firm. Avoid cuts with large chunks of hard white fat.
- Packaging: Inspect the packaging for holes or tears. Make sure the sell-by date hasn’t passed and is within the time you will use it or freeze it. Check the USDA meat grade for one you prefer.
Why This Roast Works
- Rib‑eye taste with a budget cut
- One pot; veggies roast with it
- Very little to do after it’s in the roaster
- Leftovers shred or slice for great sandwiches or tacos
Ingredients You Will Need
| Ingredient | Amount | Simple Swap / Note |
|---|---|---|
| Beef chuck roast | 3 lb boneless | Bone-in → add about 30 min oven time |
| Low-sodium beef broth | 2 cups, divided | Half broth / half red wine for richer flavor |
| Dried celery flakes | 2 tsp | 1 rib fresh celery, diced |
| Yellow onions, cut into wedges | 2 medium | Green onions, shallots, leeks (see Onion Substitutions) |
| Kosher salt and fresh ground black pepper | Generous | Sea salt, fresh cracked pepper |
| Vegetable oil (for searing) | ~2 Tbsp | Nut oils or olive oil (with high smoke point) |
| Gravy from pan juices (optional) | ¼ cup cold water + 3 Tbsp cornstarch | Use flour if preferred |
*The recipe card at the bottom has the exact quantities of these ingredients.
Onion Substitutions and Quantities
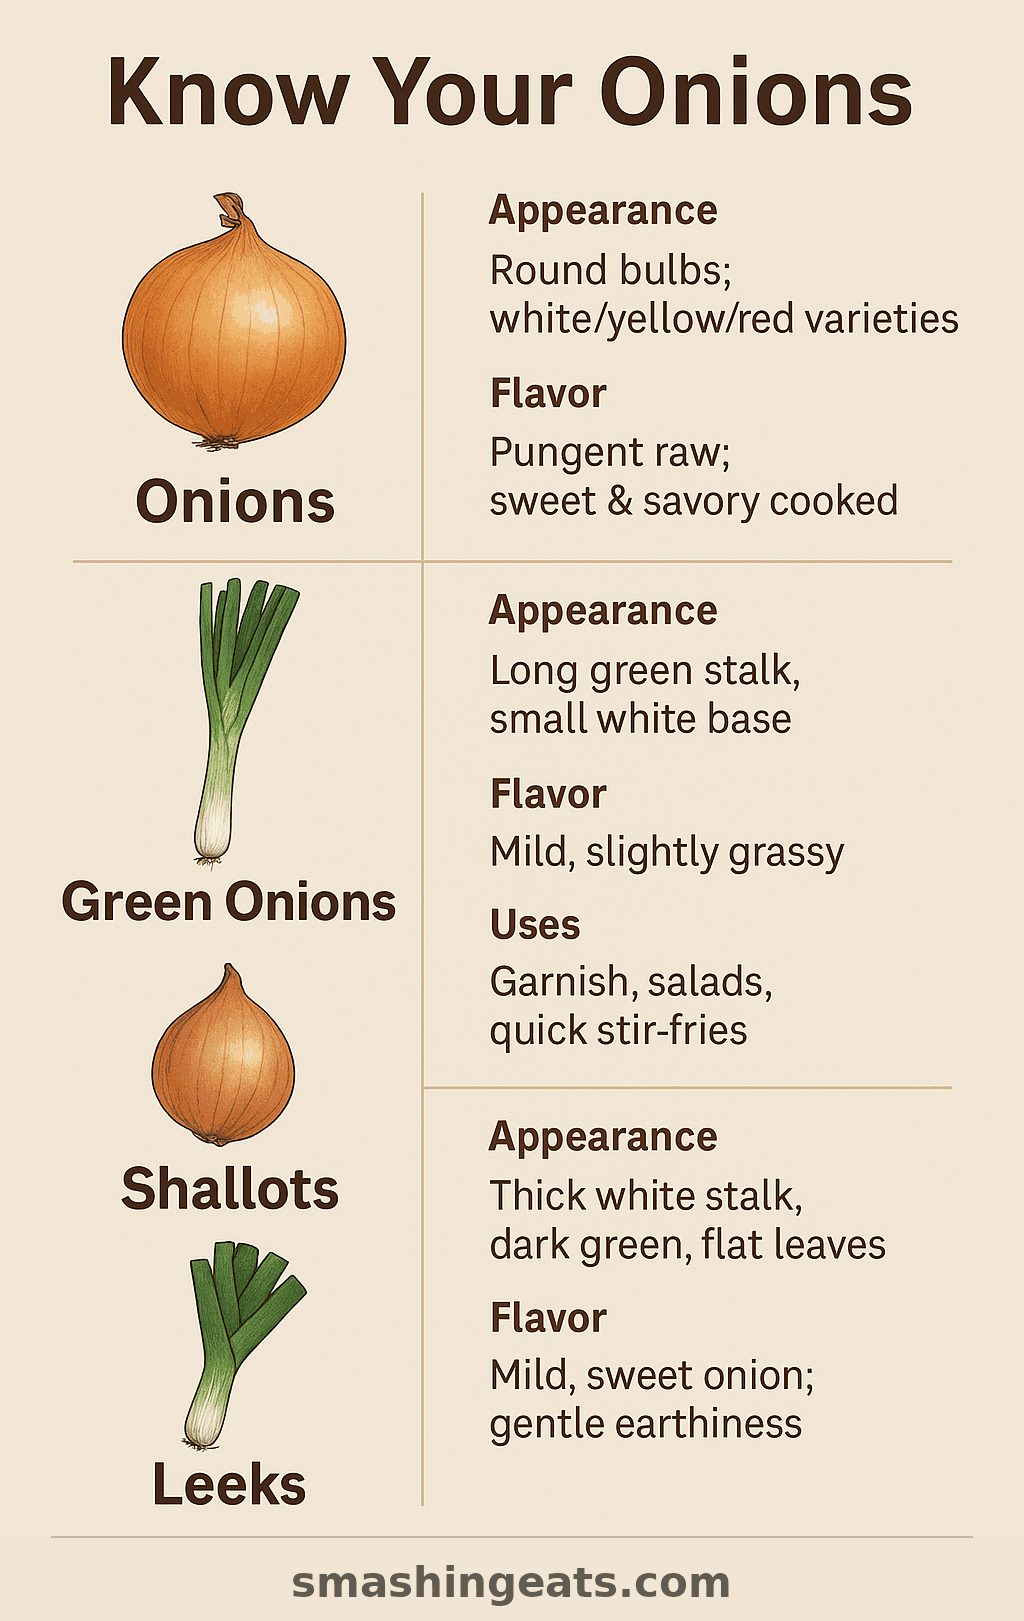
| Type | Use this amount to replace 1 medium yellow onion (≈ 1 cup chopped) | Flavor & Cooking Pointers |
|---|---|---|
| Onion (reference) | 1 medium yellow onion | Classic pungent-to-sweet base; sauté or roast to mellow |
| Green onions (scallions) | 6–8 whole stalks (white + green) | Mild, fresh bite; stir in near the end for color and crunch |
| Shallots | 2 large or 3 medium bulbs | Sweeter, faintly garlicky; shines in sauces, vinaigrettes |
| Leeks | 1 large (or 2 small) white + light-green parts | Soft, grassy onion flavor; sweat well to tame fibers |
Step‑by‑Step
- Preheat the oven to 300 °F.
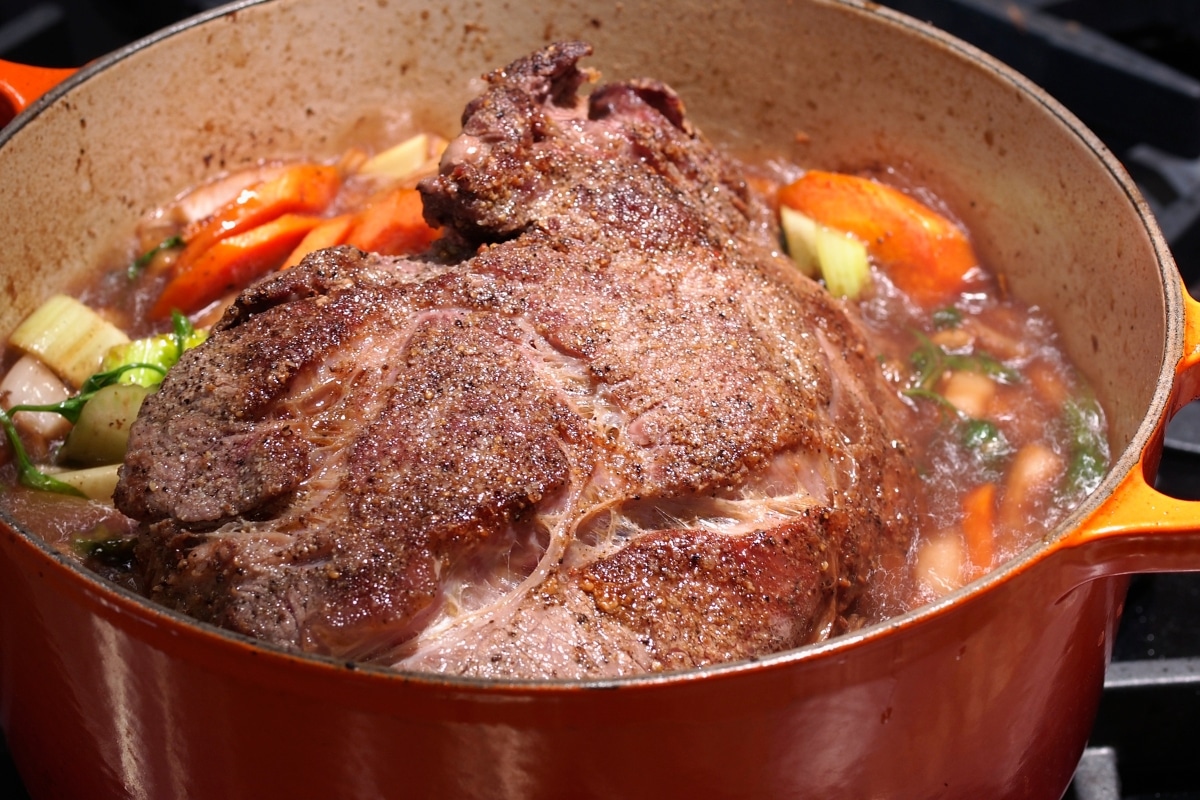
- In a large roasting pan or Dutch oven, pour in 1 cup broth and add the celery flakes. Place the roast on top. Season with salt and pepper. Arrange onion wedges around the beef roast
- Cover and bake for 2½ to 3 hours. Meanwhile, turn the roast once halfway through cooking and add broth if the liquid drops below ½ inch. Continue roasting until the meat reaches about 200°F or a fork slips in easily.
- Reverse-Sear: Next, heat the oil in a heavy skillet over medium-high heat until shimmering. Then, transfer the roast from the Dutch oven to the skillet and sear for 3 to 4 minutes per side, or until a crust forms.
- Rest and Slice: Transfer the roast a cutting board and rest 10 minutes. Slice across the grain.
- Serve: Transfer to a serving plate and arrange onions around the roast. Drizzle with pan juices and serve.
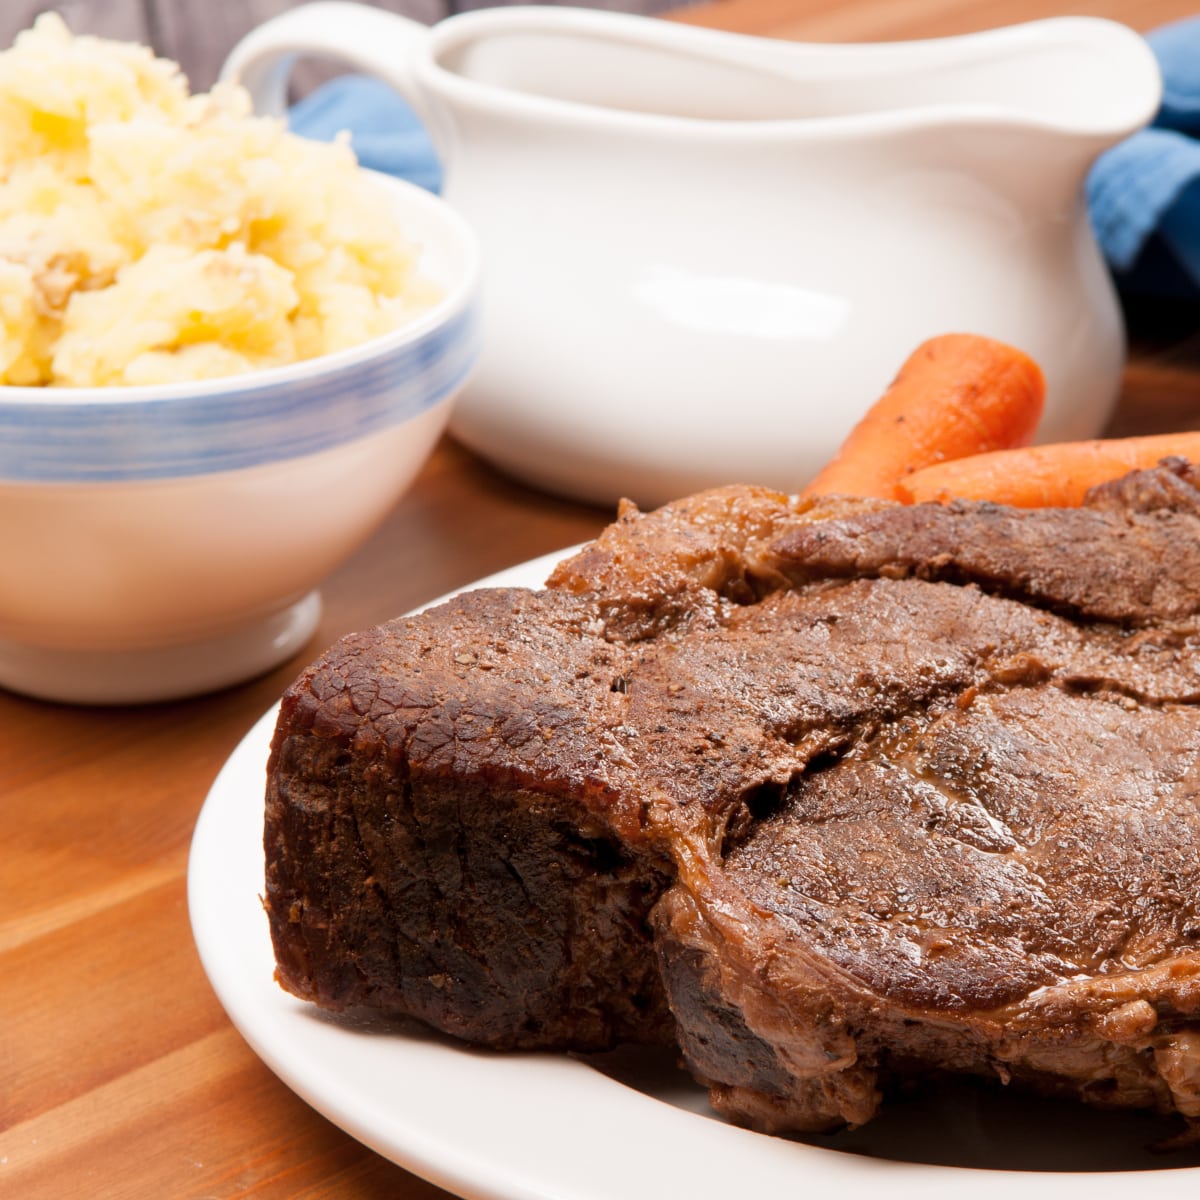
- Quick Gravy (optional): Skim fat from roasting pan juices. Add broth to total about 2 cups. Bring to a simmer. Whisk cold water with cornstarch, drizzle in, and cook, stirring, 3 to 5 minutes until thickened. Serve in a gravy boat alongside the roast.
Temperature Benchmarks
| Finish | Pull At | After Rest | Texture |
| Sliceable | 190 °F | 195 °F | Holds shape |
| Shreddable | 200 °F | 205 °F | Pulls apart |
Tip: Trust your thermometer—minutes‑per‑pound charts are estimates.
Make It a Complete Pot Roast With Carrots and Potatoes
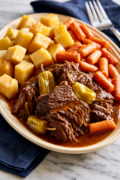
Adding vegetables to the pot turns this chuck roast into a classic Dutch oven pot roast, a full Sunday dinner in one pot. The trick is timing. Vegetables added at the start turn to mush by the time the beef is tender. Added near the end, they roast gently in the beef juices and come out perfectly tender with big flavor.
When to add them: During the last 60 to 75 minutes of cooking. For a 3 pound roast, that means adding the vegetables when you turn the roast at the halfway point, then checking them when the beef reaches temperature.
| Vegetable | Amount for a 3 lb Roast | How to Cut | Notes |
|---|---|---|---|
| Yukon Gold or red potatoes | 1 1/2 pounds | 2 inch chunks | Waxy potatoes hold their shape better than russets |
| Carrots | 4 to 5 medium | Thick 2 inch pieces | Baby carrots work too, no cutting needed |
| Celery | 2 ribs | 2 inch pieces | Adds flavor to the pan juices |
| Mushrooms | 8 ounces | Halved | Add in the last 45 minutes only |
How to do it: Nestle the vegetables into the liquid around the roast, not on top of it, so they cook in the seasoned juices. Sprinkle with a little kosher salt. If the liquid has dropped below a half inch, add broth before returning the lid. The vegetables are done when a fork slides into the potatoes easily, which usually lines up with the roast hitting 200°F.
Serving tip: Lift the vegetables out with a slotted spoon and arrange them around the sliced roast on the platter, then drizzle everything with the pan juices or gravy. One pot, one platter, and the whole dinner is ready.
Top Tips
- Choose a good beef roast for the price.
- Keep liquid at least one‑third up the side of the roast so it doesn’t dry out.
- A tight lid matters more than fancy cookware.
- Let the roast rest before cutting to redistribute the juices for a juicier roast.
- Store leftover beef separately from reserved gravy or au jus.
Storage and Leftovers
Refrigerator: Airtight container for 3 to 4 days.
Freezer: Tightly sealed packaging for 2 to 6 months
Reheat: Wrapped in foil in a 300°F oven with a splash of broth until warm. Do not reheat in the microwave.
Defrost: Overnight in the refrigerator. Do not defrost in the microwave.
Frequently Asked Questions
Pot roast is a dish, and chuck roast is the cut of beef most often used to make it. When you braise a chuck roast low and slow with liquid, exactly like this recipe, you’re making a classic Dutch oven pot roast. Add carrots and potatoes to the pan for the traditional complete version.
Count on about 1 hour per pound at 300°F, covered. A 3 pound chuck roast takes 2 1/2 to 3 hours, and bone in adds about 30 minutes. But trust your thermometer over the clock: the roast is done when it reaches 200°F and a fork slips in easily.
It needs more time, not a higher temperature. Chuck roast passes through a tough stage before the connective tissue melts. It turns fork tender around 200°F and shreddable at 205°F. If it is chewy, put the lid back on and give it another 30 to 45 minutes, then rest it before cutting.
Yes, keep it covered the entire time. A tight lid traps steam that braises the meat, and it matters more than fancy cookware. Keep the liquid at least one third of the way up the side of the roast, adding broth if it drops below a half inch.
Add them for the final 60 to 75 minutes of cooking. Cut potatoes into 2 inch chunks and carrots into thick pieces so they turn tender without dissolving into the gravy. Added at the start they will overcook. Added at the end they roast in the beef juices, which is the best part of a Sunday pot roast.
This recipe sears after roasting, which is a reverse sear. Braising first and then searing 3 to 4 minutes per side in a hot skillet gives you a better crust, because the surface is drier after cooking than a raw roast fresh from the package. It also means one less thing to do while the oven preheats.
Kosher salt, black pepper, and celery flakes do the heavy lifting. Add granulated onion if you are not putting onion wedges in the pot. The pan juices concentrate as it cooks, so season generously at the start and taste the gravy before adding more.
I sure would not. The outside dries out before the inside gets tender. Thaw overnight in the refrigerator. The only decent way to cook a frozen chuck roast is in the Instant Pot.
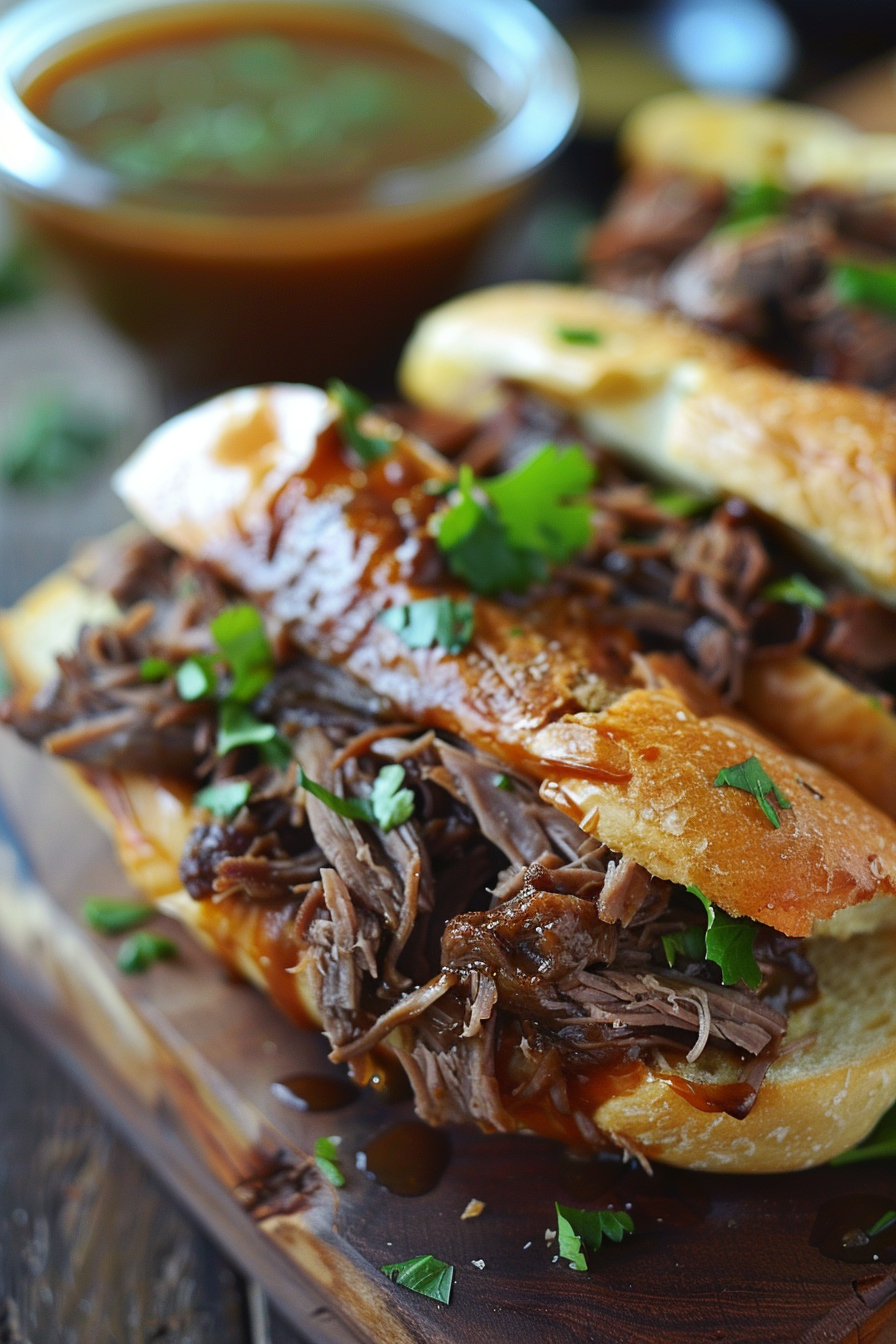
French dip sandwiches are the move. Pile the beef on a toasted roll with the pan juice au jus for dipping. Leftovers also shine in tacos, beef gyros, taquitos, soups, and stews. Store the beef and gravy separately for easier reheating.
Oven Baked Beef Chuck Roast
Equipment
- Dutch Oven 6 quart or larger
Ingredients
- 2 cups low-sodium beef broth divided
- 3 pounds beef chuck roast
- 2 teaspoons dried celery flakes
- Kosher salt and freshly ground black pepper
- 2 medium onions each cut into 8 wedges
- 2 tablespoons vegetable oil approximately
Carrots and Potatoes (optional)
- 1-1/2 pounds Yukon gold or red potatoes cut into 2-inch chunks
- 5 carrots cut into thick 2-inch pieces (or baby carrots)
Beef Roast Gravy (optional)
- ¼ cup cold water
- 3 tablespoons corn starch
- Kosher salt and freshly ground black pepper

Instructions
- Preheat oven to 300°F.
- Add 1 cup of the beef broth, the chuck roast and the celery flakes into the Dutch oven. Season the roast with kosher salt and pepper. Arrange onion wedges on top of and around the roast.
- Cover the Dutch oven and bake, turning once halfway through cooking and seasoning with salt and pepper, for 2 1/2 to 3 hours or until your roast has an internal temperature of 200°F, or is fork-tender. Add more broth, if needed, during cooking.
- In a large heavy bottom skillet over medium-high heat, add the oil and heat until shimmering. Transfer the chuck roast to the skillet and sear, turning once, about 4 minutes per side or until the roast is nicely browned, adding more oil as necessary. Transfer the roast to a cutting board. Cover the roast with foil and let stand for 5 to 10 minutes.
- Carve the roast into thick slices or chunks and transfer to a serving platter. Using a slotted spoon, remove the onions and arrange around the roast, if desired.
- Skim fat from the juices in the Dutch oven. Add remaining beef broth and heat over medium heat until warm. Ladle mixture into a gravy boat and serve. Or, use the mixture to make the beef gravy below.
Carrots and Potatoes (optional)
- During the last 60 to 75 minutes of cooking, nestle the potatoes and the carrots in the liquids around the roast.
Beef Roast Gravy (optional)
- Skim fat from the juices in the Dutch oven. Transfer juices to the skillet used for browning the roast. Add remaining beef broth to the skillet until you have about 2 cups of liquids. Over medium heat, cook, scraping up any browned bits from the bottom of the pan, until simmering.
- In a small bowl, whisk together the cold water and cornstarch. Slowly whisk slurry into the juices and cook, stirring, 3 to 5 minutes or until gravy is thickened to your liking. Season to taste with salt and pepper.
- Strain gravy into a gravy boat. Serve with the chuck roast.
Cooks Tips
Why This Roast Works
- Rib‑eye taste with a budget cut
- One pot; veggies roast with it
- Very little to do after it’s in the roaster
- Leftovers shred or slice for great sandwiches or tacos
How to Pick a Good Roast
- Marbling: Look for tiny flecks of white in the meat that make your beef tender, juicy, and flavorful. Those flecks of fat melt during cooking and baste the beef from the inside out, according to Diana Clark, meat scientist for the Certified Angus Beef ® brand.
- A Little Fat is Good: 1/4 to 1/2 inch fat around the outside edge is ideal. The fat bastes the beef while giving the meat a lovely crust after searing.
- Red Coloring: The color should be bright red and look moist. Leave bland colors for the potatoes.
- Texture: The roast should be firm when touched. Avoid any cuts with large chunks of hard white fat.
- Packaging: Inspect the packaging for holes or tears. Make sure the sell-by date hasn’t passed and is within the time you will use it or freeze it. Check the USDA meat grade for one you prefer.
Pot Roast
- Make this into a classic pot roast for a complete meal, add potatoes and carrots to the Dutch oven.
- Add the potatoes and carrots to the roast 60 to 75 minutes before the roast is done. Nestle them into the liquids around the roast.
- Use a slotted spoon to remove the potatoes and carrots from the Dutch oven and arrange them around the roast on the serving platter.
- Keep liquid at least one‑third up the side of the roast so it doesn’t dry out.
- A tight lid matters more than fancy cookware.
- Let the roast rest before cutting to redistribute the juices for a juicier roast.
- Store leftover beef separately from reserved gravy or au jus. Both the roast and gravy are easier to reheat if stored separately.